One of my all time favorite times of the year is the transition from fall to winter, the leaves changing color, the chill in the air, the holidays looming and coming and looming and coming, the children's crafts, the excitement, the giggles.... I could go on forever.
Yesterday I wrote a post about taking advantage of every learning opportunity you get, but I should also admit that I do have a formal "preschool" time with my daughter, we attempt one to three times a week, sometimes we'll get in all five days and sometimes we'll skip a week entirely. It's flexible because she is young, and because we're busy! But I do have an entire binder that I have started to accumulate awesome homeschooling things within, things like free printables (http://www.allkidsnetwork.com/worksheets/) and crafts like the one we did yesterday which I also got from an amazing blog called Housing a Forest and a rough week-by-week schedule.
Anyways! On to the fun! While these trees look awesome, and took a while, they were incredibly easy and the kids (ages 2 1/2 and 4) had a ton of fun every step of the way.
 The first thing I did was to shred up about 3 pages of each color of construction paper and put them in about 1 to 1.5 c. water. This will start the paper pulp, but they need to have a good while to really absorb the water. As we were doing a fall theme we chose red, orange, and yellow (like the example.) we loved it so much though we might do it in the spring time and do it with green and pink and make apricot tree blossoms.
While the paper was soaking, we made the "Salt dough hills." Salt dough is the easiest thing to make, 1 c. salt, 1 c. water, 2 c. flour. If its a little too wet or dry add more flour or water. Now I didn't know how well these would hold up, and I wanted ours to go on the mantle, so I used wide mouthed pint sized jars and we shaped the dough to fit into it. (I will say when you bake there's a slight bit of relaxing, so make it a little smaller than the cup's diameter. I ended up having to rip off some of the edges of their hills to cram them inside.) The dough once baked however did appear to be strong enough to hold up the single branch trees, I had also thought about putting them in little tins from the dollar store, but liked the mason jar look. You can use whatever you want for the base.
 The kids helped with every step of this process from pouring flour to mixing to rolling and playing. When they had the basic shape of their "hills" we stuck in our branch (just pulled from my own back yard.) to give it the general fit for the branches. Then I stuck them in a 250 degree for about 30-45 minutes. I wanted them to be dry enough to paint, but still moist enough to force the tree into.
While the dough was in the oven we worked on our ground covering - what else but a pile of leaves? We took the colors and put them in the blender, (lightest first) and blended up the paper. I found that I needed to add extra water to make a good pulp of each of the colors.
 Once the pulp was finished I let the kids each have a color and we started pinching out paper. I covered a plate with paper towel (to help with the mess and to absorb the extra water) and we each started pinching the leaves out. For individual lives simply squish the water out and set them on the towel. My daughter did this for a bit, before deciding she didn't like the individuals much and decided to roll it into a big ball and crumble it and squish it, honestly, it looked just as awesome and resembled more a raked pile that the kids had played in then the perfect ones.
  Baby B (though not much of a baby any more!) was much more precise and preferred to only take a few fingers to squish the leaves individually. Both of them ended up getting some beautiful leaves and a good pile by the end because neither wanted to just leave the paper to dry, both wanted to play with the pulp a bit, and as it was their day I wanted them to do what they wanted to do.
  When they were done with the leaves I pulled the dough out and let it cool while we did lunch. Once cooled the kiddos enjoyed painting their hills "natural" hill colors, browns and greens. This also allowed the leaves the opportunity to dry while they painted. When they were done with the painting we did some fun time away from crafts to let them dry. When I could handle it I put them into the pint jars and pushed the tree into the dough. I thought I would need to hot glue this, but it was a nice snug fit, I can only assume from the expansion while it cooked.
  Once the trees were in their jars it was time to start putting the leaves on the tree itself. The fun with this was how random and easy it could be, you could put as much or as little on as you want, it looked good with the branches in bare and the ground leaves we'd done earlier in the jar. I had to help B a bit to get the leaves to stick in the beginning, but by the end he was figuring it out and wrapping it well. The thing I would recommend is that the older party help squeeze some of the water out to ensure the paper will stay on the branch. If they got too big of a wet clump it would all fall right off. Also I have to agree with the Housing a Forest author - the more erratic the better.
 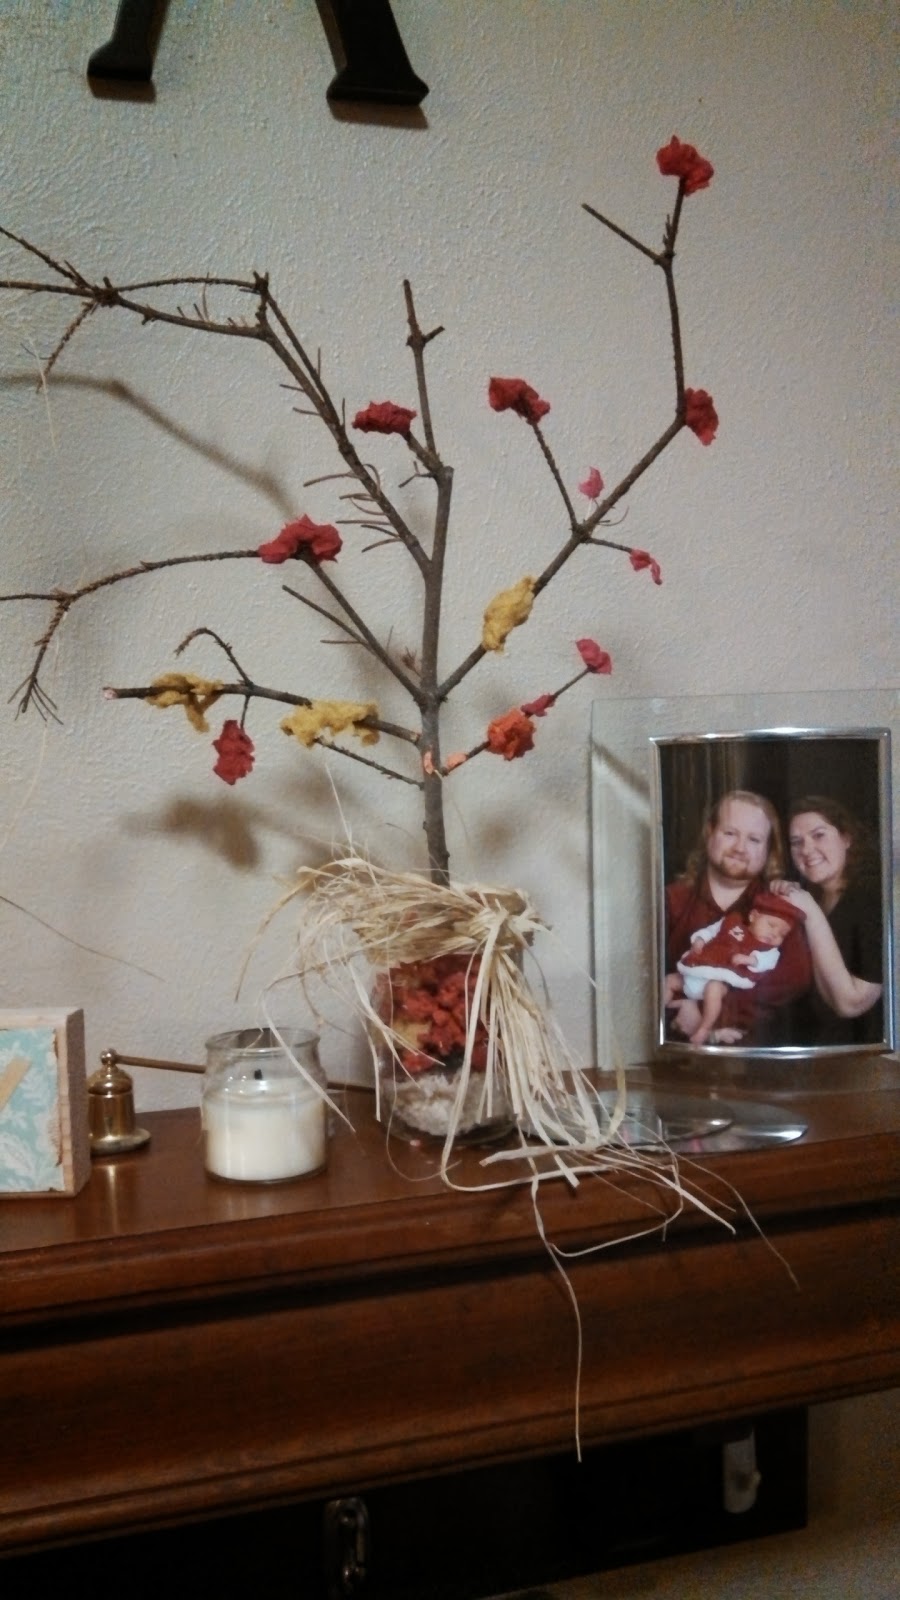 |
| She-she's Tree. |
 |
| Baby B's Tree |
Once that was done we tied a bit of raffia around the pint jars and I set them on the mantle to dry. If you don't have / don't like raffia, fabric, burlap, ribbon, yarn.... pretty much anything to accent it would work.
It's Gorgeous!!! It's totally a craft that I want to display in my home. :) It may even be a yearly tradition and at $0 a tree it would be one we can always do no matter what finances look like. :) For sure my favorite craft of the year thus far.